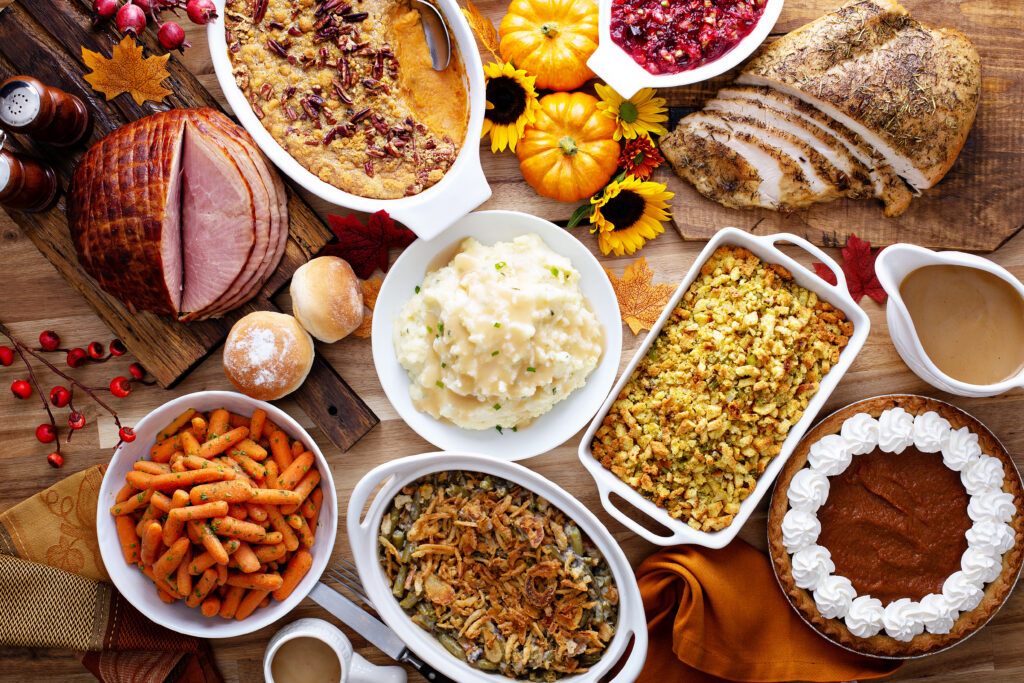
Holiday Meal Planning, Simplified
While the following meal plan can be used for any holiday, at the time of writing this post, we are 8 days away from Easter Sunday! My children have decided to pick this time to tell me they want a traditional meal with DELICIOUS food. Meaning turkey or ham, mashed potatoes, gravy, veggies, and a dessert. REALLY NOW! Who are you and what have you done with my kids! For years we’ve forgone the turkey and replaced it with Salmon and chicken wings, why because that’s all they would eat! So imagine my surprise when they tell me this with only a week to go.

I IMMEDIATELY called my sister who is a Kitchen Genius and tell her my dilemma. She doesn’t see my pain all she sees is happiness over the fact that my kids are FINALLY getting into the Holiday spirit. I asked her how do I plan a small Holiday meal (there will be 5 of us!) without feeling overwhelmed? She starts rattling off all of this STUFF, to which I had to remind her that my brain doesn’t work in the same way as hers. I need exact steps a plan that will keep me on track and focused. So I am going to share with you all what my sister Amanda who runs Homemade Amanda’s Way suggested.
She advised that if you want a turkey to start early, she actually starts a week in advance which I thought odd but it’s actually a pretty simple system when you think about it.
- Step 1-Set your turkey in a pan or pot to defrost. Turkeys upto 14-15 lbs need at least 72 hours to totally defrost. you can leave it in the packing so you don’t have a huge mess.
- Step 2-Remove your turkeys packing and place it in a brine. To make the brine mix and heat over a medium flame the following: 2/3 c. of salt, 2/3 c. of Brown sugar and 2/3 c. water simmer till everything is desolved. Let cool, My sister adds ice to it becasue she’s impatiant, I think I’ll just let it cool on its own. Place turkey and brine in a big stock pot, like the ones they use for crab boils, place back in the fridge for another 48-72 hours.
- Step 3- Remove turkey from brine and dump liquid. Season turkey however you’d like ensuring you score the skin for extra crispiness. Place back in fridge over night uncovered and away from any other food to avoid cross contamination.
- Step 4- My sister cooks her bird over night on the lowest oven setting possible. Me, I’m not doing that! Take bird out of fridge let stand for one hour so it comes to room tempeture then place in preheated oven for the recommended cook time on label. I cooked a 14 pound bird at 375 degrees for 3 hours. Be sure to use a meat thermomitor checking that it’s atleast 165 degrees at the meatiest part of the thigh and your not hitting any bone. She doesn’t tent her turkey with foil but said that you can if you find the skin is getting darker than you’d like.
- Let stand for a 20 minutes before cutting into it.
In the days leading up to the holiday, you can chop whatever veggies you’re going to need for your sides and store them in ziplock bags. I started cooking sides 1.5 hours into my turkey cook time which ensured that they were warm and fresh when the bird came out of the oven.
I had my kid make brownies for our dessert and purchased a store-made apple pie. It just made my cooking that much easier.
Simple enough right! Defrost, Brine, Season, and then Thank the Cook!
This is the food menu system she gave me when deciding how to plan my menu to avoid overcooking.
- 1 bread-rolls, bagettet etc
- 1 cold side- pasta salad
- 2 carbs-Mashed Potatoes Rice
- 2 veggies greens, broccoli etc
- 1 protein- turkey, Ham etc
Now if you’re going to cook a ham that ones even easier as Ham is already pre-cooked and you just need to follow the cooking instructions on the label. They often come with their own glaze as well so most of the work is done for you. I usually mix up about 1/2 c of brown sugar and a half bottle of Coke then add it to the pan as a glaze and brush it every 5-10 minutes.

